Contrary's Format: SSBU Character Encyclopedia Layout
[Character Guide Name. Be creative!]
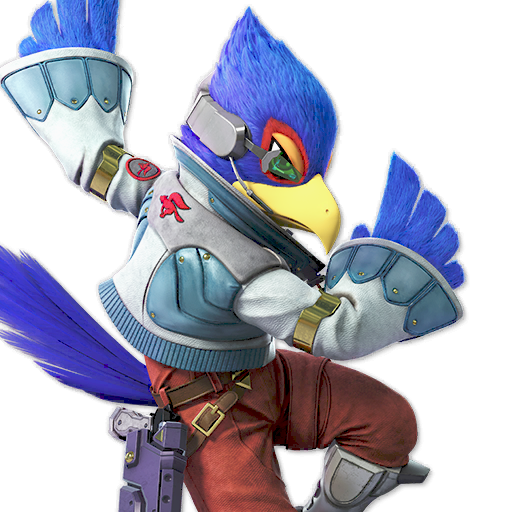
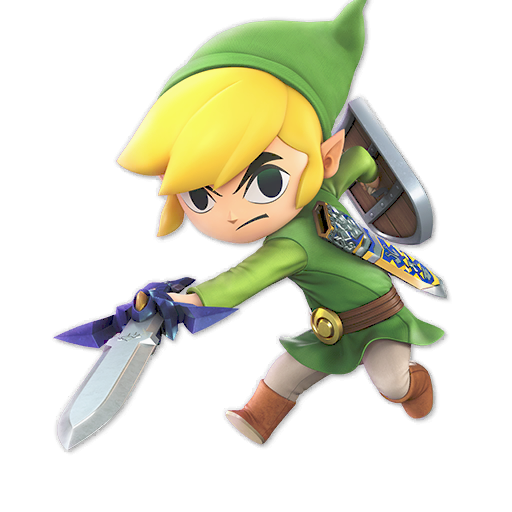
[Insert Picture of Character]
[Introduce yourself! You're doing something great for the Smash meta and your character's community]
Once completed, this resource should provide up-to-date, in-depth information on [character]'s properties, moveset, combos, movement options, advanced tech, neutral game, advantage state, disadvantage states, ledge-guarding options, kill set-ups, stage preferences, and character match-ups. To find the information you want, search the Chapter Number, as described in the Table of Contents below.
[Please Do Not Delete this next part! I worked very hard on this and I just want credit for helping the Smash Community grow.]
This is a guide based on the Sheikah Encyclopedia by HL | Contrary. This document started out as my personal pencil-and-paper notes on gameplay, transitioning to Google Docs, and eventually finding a home on SSB World.
Table of Contents
Chapter 1 : [Character] Moveset - Normals, Smashes, Throws, Aerials, Specials, Movement
Chapter 2 : [Character] Gameplay - Match Objectives, Neutral, Advantage, Key Combos, Disadvantage, Ledge Game, Controls
Chapter 3 : [Character] Stage Selection - Neutral, Advantage, Disadvantage, Ledge, Stage Striking
Chapter 4 : [Character] - MU Chart, MU Resource Link
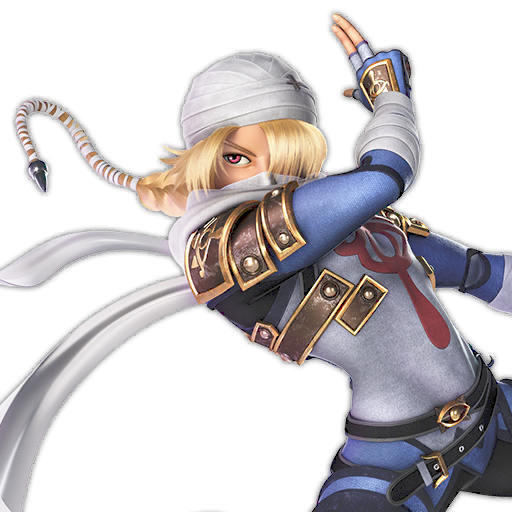
Chapter 1: Sheik’s Moveset
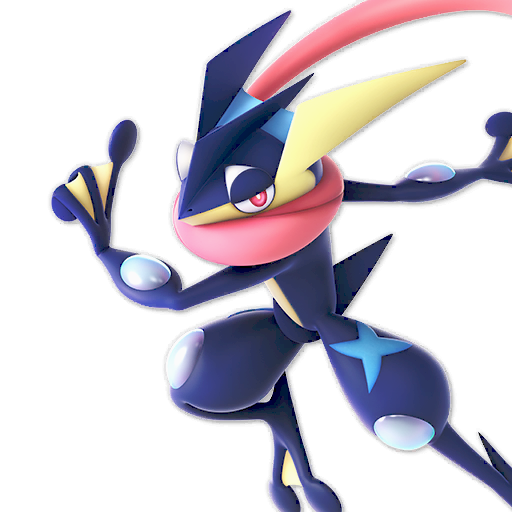
[Picture of Character]
[Description of character's general moveset]
Normals
[Description of faster grounded options and the utility they bring to the character.]
Jab
[Description of Jab and the utility it brings to the character]
Jab 1: ?%, Frame ?, FAF ?.
Jab 2: ?%, Frame ?, FAF ?.
Useful Follow-Ups, Kill Percents, and Techniques
- [Example]
- [Example]
- [Example]
Dash Attack
[Description and flavor text for Dash Attack. Consider adding pictures or a visualization of the angles.]
Hit: %, Frames .
Useful Follow-Ups, Kill Percents, and Techniques
- [Example]
- [Example]
- [Example]
F-Tilt
[Description and flavor text for F-Tilt. Consider adding pictures or a visualization of the angles.]
Hit: %, Frames .
Useful Tilt Follow-Ups, Kill Percents, and Techniques
- [Example]
- [Example]
- [Example]
U-Tilt
[Description and flavor text for U-Tilt. Consider adding pictures or a visualization of the angles.]
Hit: %, Frames .
Useful Tilt Follow-Ups, Kill Percents, and Techniques
- [Example]
- [Example]
- [Example]
D-Tilt
[Description and flavor text for D-Tilt. Consider adding pictures or a visualization of the angles.]
Hit: %, Frames .
Useful Tilt Follow-Ups, Kill Percents, and Techniques
- [Example]
- [Example]
- [Example]
Smashes
[General Description of Smash Attack Utility and What It Does For The Character]
F-Smash
[Description and flavor text for F-Smash. Consider adding pictures or a visualization of the angles.]
Hit: %, Frames .
Useful Throw Follow-Ups, Kill Percents, and Techniques
- [Example]
- [Example]
- [Example]
U-Smash
[Description and flavor text for U-Smash. Consider adding pictures or a visualization of the angles.]
Hit: %, Frames .
Useful Throw Follow-Ups, Kill Percents, and Techniques
- [Example]
- [Example]
- [Example]
D-Smash
[Description and flavor text for D-Smash. Consider adding pictures or a visualization of the angles.]
Hit: %, Frames .
Useful Smash Follow-Ups, Kill Percents, and Techniques
- [Example]
- [Example]
- [Example]
Throws
[Description of Character's Throw Game]
Grab
Standing Grab: Frame ?, FAF ?.
Dash Grab: Frame 8-9, FAF ?.
Pivot Grab: Frame ?, FAF ?.
Pummel: ?%, Frame ?.
Grab Release: FAF ?.
Useful Tips for Grabs and Pummels:
- [Example]
- [Example]
- [Example]
F-Throw
[Description and flavor text for F-Throw. Consider adding pictures or a visualization of the angles.]
Hit: %, Frames .
Useful Throw Follow-Ups, Kill Percents, and Tips
- [Example]
- [Example]
- [Example]
B-Throw
[Description and flavor text for B-Throw. Consider adding pictures or a visualization of the angles.]
Hit: %, Frames .
Useful Throw Follow-Ups, Kill Percents, and Tips
- [Example]
- [Example]
- [Example]
U-Throw
[Description and flavor text for U-Throw. Consider adding pictures or a visualization of the angles.]
Hit: %, Frames .
Useful Throw Follow-Ups, Kill Percents, and Tips
- [Example]
- [Example]
- [Example]
D-Throw
[Description and flavor text for D-Throw. Consider adding pictures or a visualization of the angles.]
Hit: %, Frames .
Useful Throw Follow-Ups, Kill Percents, and Tips
- [Example]
- [Example]
- [Example]
Aerials
[Description of general aerial gameplay and how they benefit the character].
Neutral Aerial (N-Air)
[Description of N-Air. Add some flavor text to make this more interesting. Add hitbox visualization to make this very effective.]
Hit: %, Frames .
Aerial Uses, Follow-Ups, Kill Percents, and Tips
- [Example]
- [Example]
- [Example]
Forward Aerial (F-Air)
[Description of F-Air. Add some flavor text to make this more interesting. Add hitbox visualization to make this very effective.]
Hit: %, Frames .
Aerial Uses, Follow-Ups, Kill Percents, and Tips
- [Example]
- [Example]
- [Example]
Back Aerial (B-Air)
[Description of B-Air. Add some flavor text to make this more interesting. Add hitbox visualization to make this very effective.]
Hit: %, Frames .
Aerial Uses, Follow-Ups, Kill Percents, and Tips
- [Example]
- [Example]
- [Example]
Bair is very very good for combing and killing
Up Aerial (U-Air)
[Description of U-Air. Add some flavor text to make this more interesting. Add hitbox visualization to make this very effective.]
Hit: %, Frames .
Aerial Uses, Follow-Ups, Kill Percents, and Tips
- [Example]
- [Example]
- [Example]
Down Aerial (D-Air)
[Description of D-Air. Add some flavor text to make this more interesting. Add hitbox visualization to make this very effective.]
Hit: %, Frames .
Aerial Uses, Follow-Ups, Kill Percents, and Tips
- [Example]
- [Example]
- [Example]
Specials
[General Description of Specials and how they improve the character]
Neutral Special: [Special Name]
[Description of N-Special. Add some flavor text to make this more interesting. Add hitbox visualization to make this very effective.]
Hit: %, Frames .
Special Uses, Follow-Ups, Kill Percents, and Tips
- [Example]
- [Example]
- [Example]
Side Special: [Special Name]
[Description of F-Special. Add some flavor text to make this more interesting. Add hitbox visualization to make this very effective.]
Hit: %, Frames .
Special Uses, Follow-Ups, Kill Percents, and Tips
- [Example]
- [Example]
- [Example]
Up Special: [Special Name]
[Description of U-Special. Add some flavor text to make this more interesting. Add hitbox visualization to make this very effective.]
Hit: %, Frames .
Special Uses, Follow-Ups, Kill Percents, and Tips
- [Example]
- [Example]
- [Example]
Down Special: [Special Name]
[Description of D-Special. Add some flavor text to make this more interesting. Add hitbox visualization to make this very effective.]
Hit: %, Frames .
Special Uses, Follow-Ups, Kill Percents, and Tips
- [Example]
- [Example]
- [Example]
Defense
Shield: Frames
Parry Shield Drop: Frames
Shield Lock: Frames
Forward Roll: Frames
Spot Dodge: Intangibility:
Backward Roll: Invincibility:
Neutral Air Dodge: Invincibility:
Directional Air Dodge: Invincibility:
[Description of Defensive Options]
Useful Defensive Options, Techniques, and Tips
- [Example]
- [Example]
- [Example]
Movement
[Description of Character's Movement]
Useful Movement Options, Techniques, and Tips
- [Example]
- [Example]
- [Example]
Crouch
Crouching and Crawling are an incredibly underrated tools for improving your approach and evasion. [Character] can use their Crouch or Crawl to move under various attacks.
[Add hurtbox visualization to make this more effective.]
The uses of Crouch in each MU will be listed specifically in the MU section, but some examples include:
- [Example of Projectile]
- [Example of Aerial]
- [Example of Smash Attack]
Chapter 2: [Character]'s Gameplay
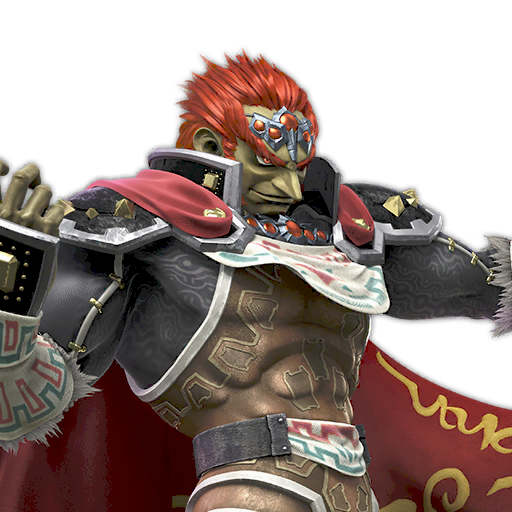
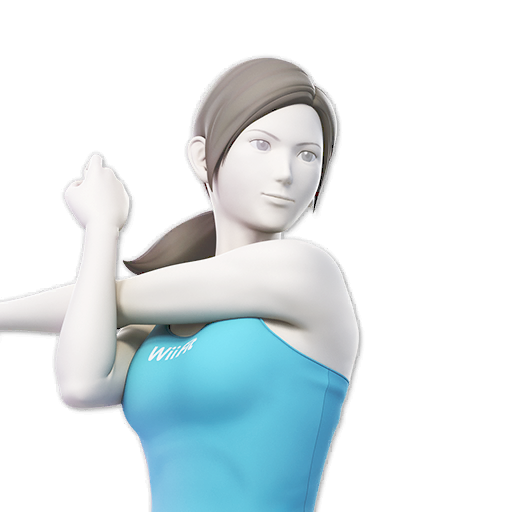
[Insert Picture of Character]
Establishing Match Objectives is an important part of playing any character. At the given percents, keep these options in mind. Keep in mind that these aren’t the be-all and end-all things to do at these percent ranges. Newer players can take these options too strictly and become too focused on achieving these things... as opposed to playing all the ins and outs of the match.
Low Percent (0%- %):
- [Example of Goal at Given Percent]
Mid Percent (%-%):
- [Example of Goal at Given Percent]
High Percent (%-%):
- [Example of Goal at Given Percent]
The Neutral
This section was almost exclusively inspired by _Tree’s video on the neutral, and often borrows the wording or ideas explicitly. Please watch his video for a more in-depth explanation and visual aids:
The Neutral is a state of even, neutral advantage between characters. Typically, playing the neutral involves the act of hovering around the opponent’s “threat bubble” and fishing for “hit confirms” (safe, weak options that combo into much stronger attacks); it may also involve camping (via projectile or a comparable threat) to force the opponent into a disadvantageous approach. However, playing the Neutral isn’t as simple as repeatedly throwing out your best move or throwing projectiles from afar. It’s primarily about understanding what your opponent wants to do and finding ways to snag hits to take advantage of their attempts.
When hovering around your opponent’s threat bubble, “Whiff Punishing” is a huge part of shifting the neutral into your “Advantage State” and their “Disadvantage State”. Whiff Punishing involves baiting your opponents to attack with a predicted, laggy move right when you move out of their threat bubble... and then punishing them with a sufficiently fast attack.
- [Quick Descriptions of Character Options in Neutral]
- [Quick Descriptions of Character Options in Neutral]
A great way to punish bad neutral options is to take advantage of the opponent’s main focus. If they’re focusing on not getting hit while landing, they might try to jump again; as such, you can hit them with a harder option as they land after their double jump is expended. Similarly, if they’re trying to hide from your Aerials in their shield, feint an aerial and then grab their shield. Keep in mind, however, that sometimes, taking a mental note of a bad habit for later is better than punishing it immediately.
Advantage State
[Description of Agression and Options]
- [Quick Descriptions of Character Options in Advantage]
- [Quick Descriptions of Character Options in Advantage]
Bread and Butter Combos
Low Percent (0%-?%)
- ? > ? (?%)
Mid Percent (?%-?%)
- ? > ? (?%)
High Percent (?%-?%)
- ? > ? (?%)
Disadvantage
[Description of Disadvantage and Goals]
- [Quick Descriptions of Character Options in Disadvantage]
- [Quick Descriptions of Character Options in Disadvantage]
Ledge Dynamics
Ledge Trapping is the act of preventing a ledge-hanging opponent from safely transitioning back onto the main stage. Edge Guarding is the act of preventing an opponent from making a recovery from off of the stage. Learning how to play the ledge may be the hardest part of Smash Ultimate, as every get-up interaction involves the lighting-fast weighing of options and recollection of opponent habits. That being said, learning to play well at the Ledge can grant you a kill against most characters at most percent.
Ledge Trapping
- ?
Getting Ledge Trapped
- ?
Edge Guarding
- ?
Getting Edge Guarded
- ?
Other
- ?
Killing
Kill Confirms
- ?
Kill Mixups
- ?
Optimal Controls
Below is the control set that I believe to be optimal for the Nintendo Gamecube Controller in Smash Ultimate.
Attack: A, C-Stick
Special: B, L
Shield: R, D-Pad
Jump: Y, Z
Grab: X
[Explanation of Controls]
Chapter 3: [Character]'s Stage Selections
[General Description of Stage Preferences]
Battlefield
-
Neutral:
- ?
Advantage:
- ?
Disadvantage:
- ?
Ledge Dynamics:
- ?
Other Notes:
- ?
Pick Against:
- ?
Ban Against:
- ?
Final Destination
Neutral:
- ?
Advantage:
- ?
Disadvantage:
- ?
Ledge Dynamics:
- ?
Other Notes:
- ?
Pick Against:
- ?
Ban Against:
- ?
Lylat Cruise
Neutral:
- ?
Advantage:
- ?
Disadvantage:
- ?
Ledge Dynamics:
- ?
Other Notes:
- ?
Pick Against:
- ?
Ban Against:
- ?
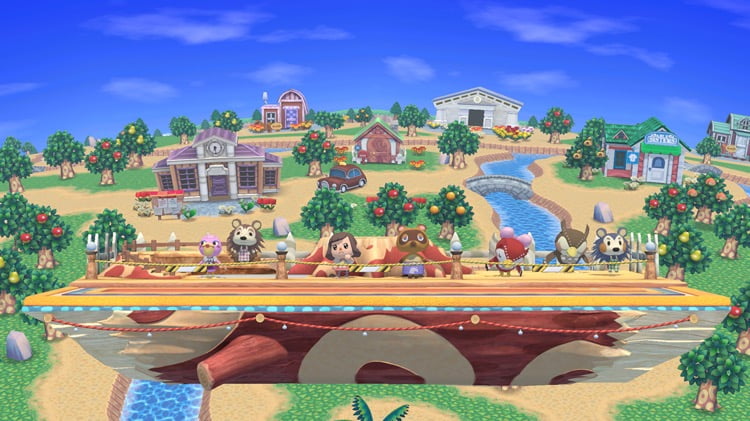
Smashville
Neutral:
- ?
Advantage:
- ?
Disadvantage:
- ?
Ledge Dynamics:
- ?
Other Notes:
- ?
Pick Against:
- ?
Ban Against:
- ?
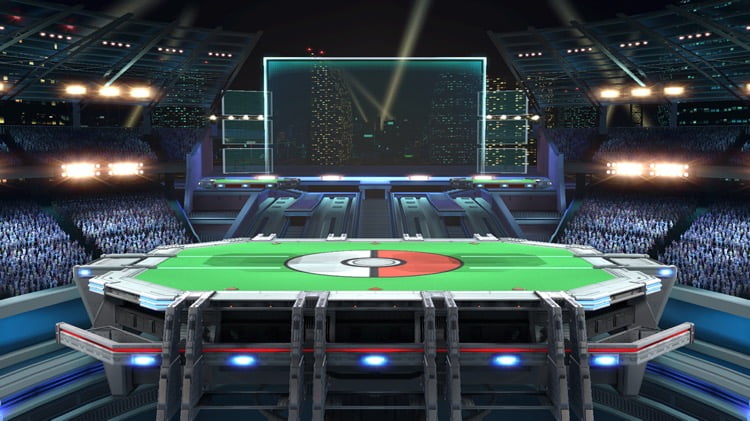
Pokemon Stadium
Neutral:
- ?
Advantage:
- ?
Disadvantage:
- ?
Ledge Dynamics:
- ?
Other Notes:
- ?
Pick Against:
- ?
Ban Against:
- ?
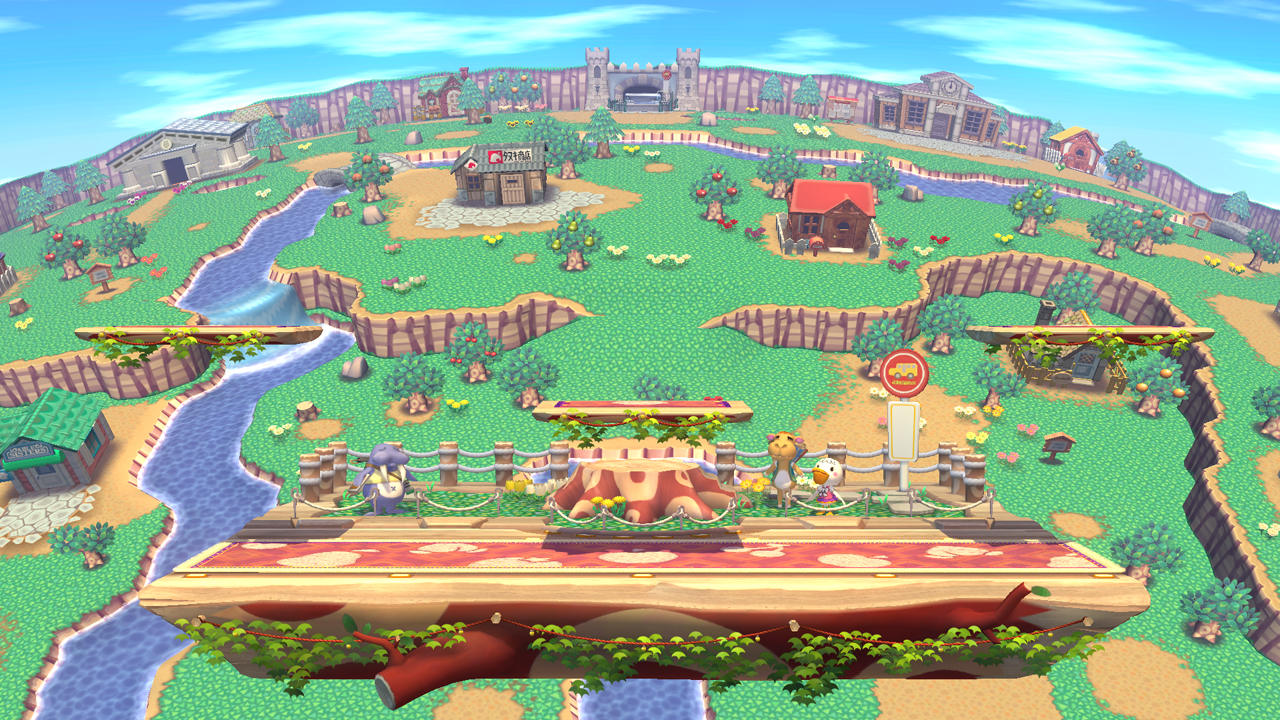
Wario Ware

Neutral:
- ?
Advantage:
- ?
Disadvantage:
- ?
Ledge Dynamics:
- ?
Other Notes:
- ?
Pick Against:
- ?
Ban Against:
- ?
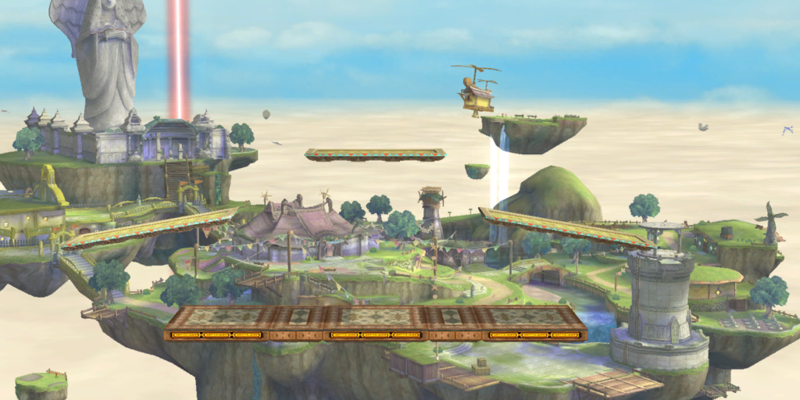
Skyloft
Neutral:
- ?
Advantage:
- ?
Disadvantage:
- ?
Ledge Dynamics:
- ?
Other Notes:
- ?
Pick Against:
- ?
Ban Against:
- ?
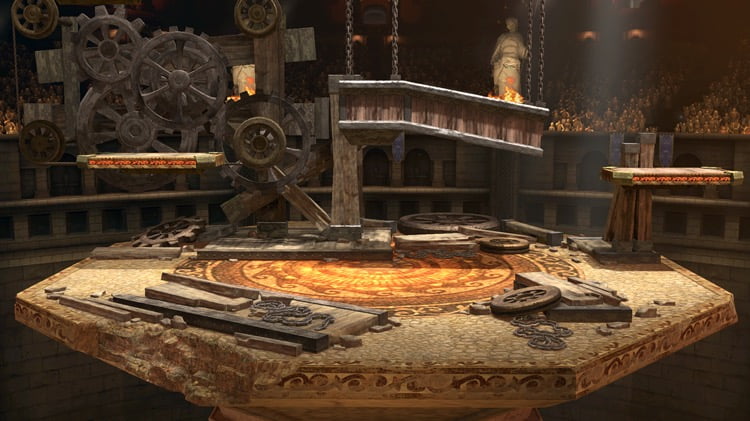
Arena Ferox
Neutral:
- ?
Advantage:
- ?
Disadvantage:
- ?
Ledge Dynamics:
- ?
Other Notes:
- ?
Pick Against:
- ?
Ban Against:
- ?
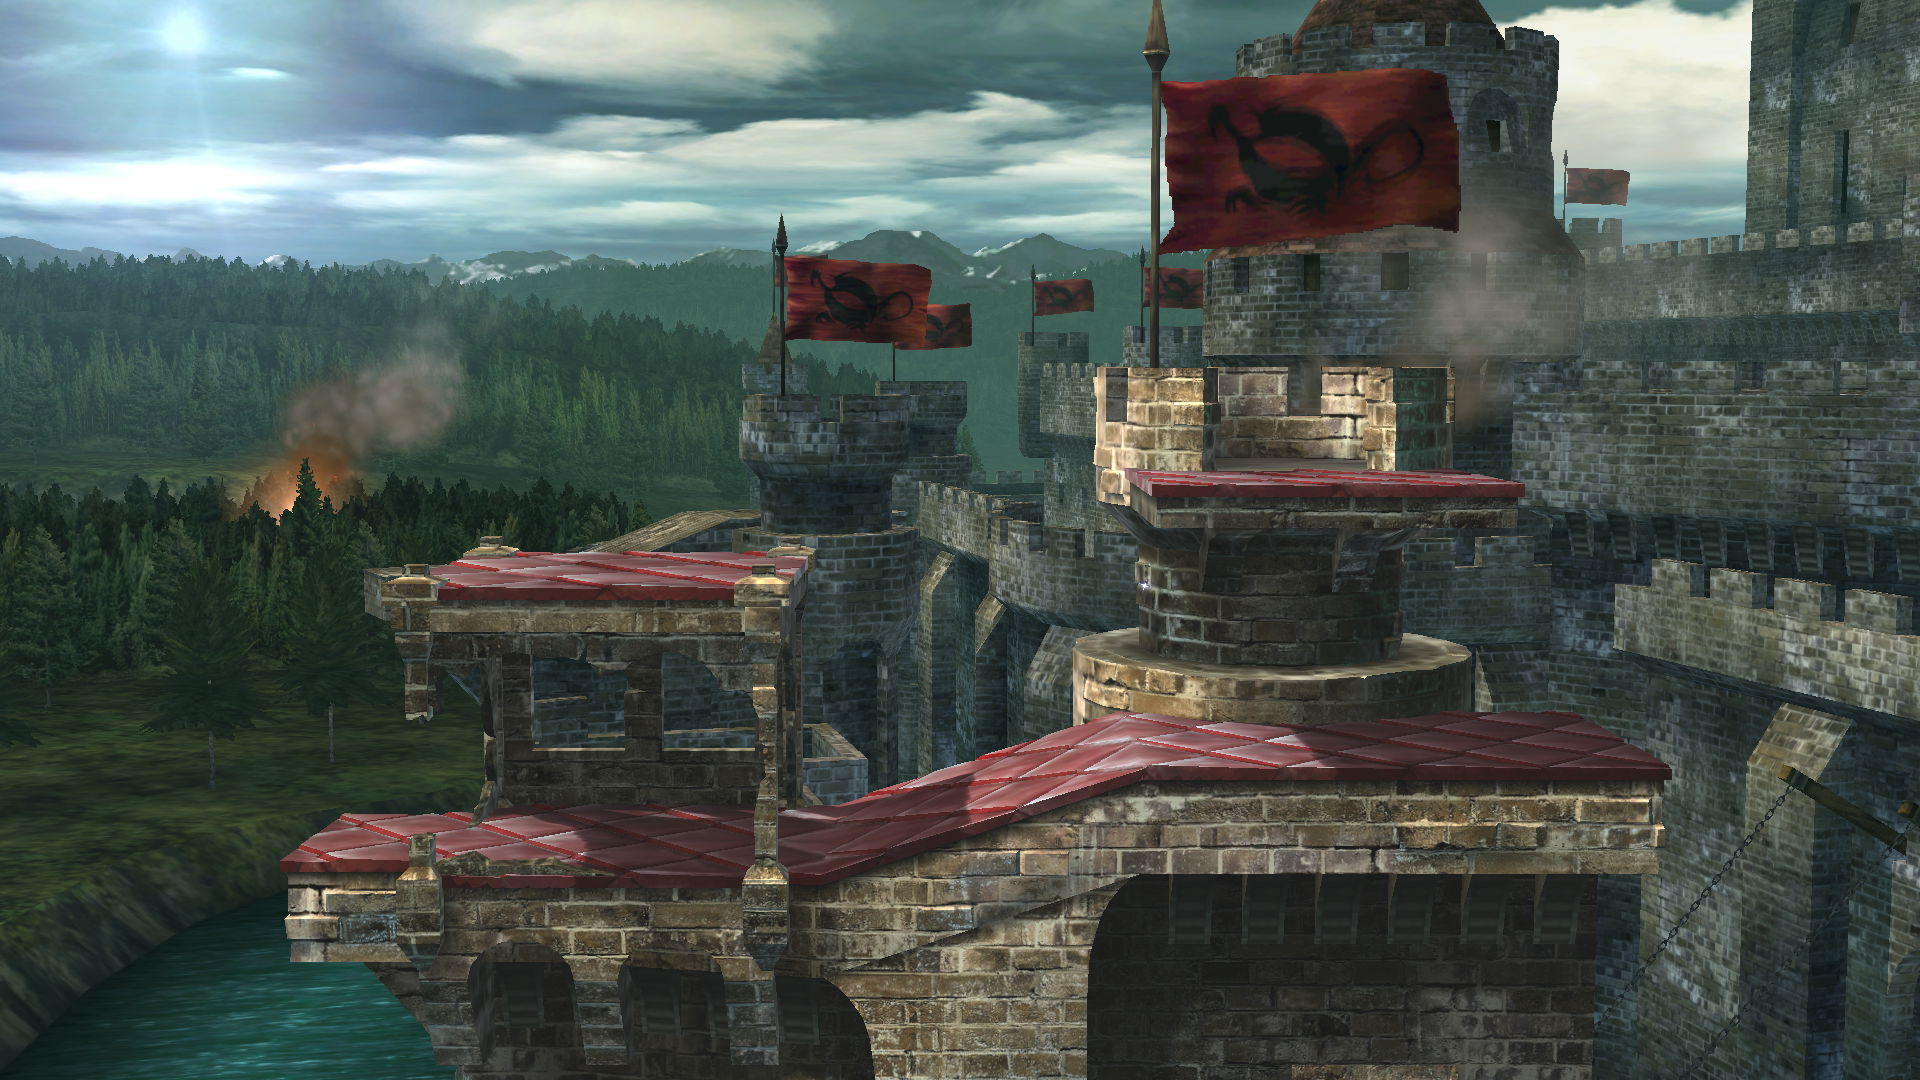
Castle Siege
Neutral:
- ?
Advantage:
- ?
Disadvantage:
- ?
Ledge Dynamics:
- ?
Other Notes:
- ?
Pick Against:
- ?
Ban Against:
- ?
Town & City
Neutral:
- ?
Advantage:
- ?
Disadvantage:
- ?
Ledge Dynamics:
- ?
Other Notes:
- ?
Pick Against:
- ?
Ban Against:
- ?
Kalos Pokemon League

Neutral:
- ?
Advantage:
- ?
Disadvantage:
- ?
Ledge Dynamics:
- ?
Other Notes:
- ?
Pick Against:
- ?
Ban Against:
- ?
Frigate Orpheon

Neutral:
- ?
Advantage:
- ?
Disadvantage:
- ?
Ledge Dynamics:
- ?
Other Notes:
- ?
Pick Against:
- ?
Ban Against:
- ?
Chapter 4: Sheik's Match-Ups
[MU Chart]
[General Description of MUs]
The ins and outs of each MU can be found here.
This blog post was written by a SSB World community member. Share your Smash 4 knowledge by creating your own blog post now.
You must log in to comment.


Comments