The Importance of Spacing and Movement
 Zephyr - May 2, 2017
Within the Smash 4 community, much like any community centered around a fighting game, much of the hype comes from "big moments". You see countless videos posted about cool things that happen over the span of anywhere from a few seconds to about half a minute or so. Here's a great example:
People see these ridiculous things pulled off and go nuts. They work on learning the combos and try to replicate them. But the vast majority of people likely find that they're not able to make it work quite like the top-level players do. Part of it, no doubt, stems from the high level of execution needed to confirm the hits into parts of the combo, and part of it is knowledge about the game, and the opponent's mindset, in what they're going to do. But a part of it that seem to go neglected far too often is the movement and spacing that sets so many top players up for success.
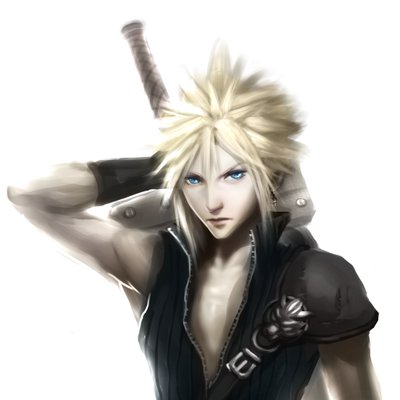
Last year, a fellow Cloud player asked me to play some dittos with them so that they could learn what I was doing and work on improving. We played games for a solid half-hour or so, but they were extremely one-sided and the other player got frustrated. They began to complain about how "their moves don't work" and I was quick to point out that their moves were literally the exact same moves as mine. We didn't play for much longer after that, because they just weren't able to grasp the advice that I was giving them about why I was winning so often. The concept was clear, but at the same time, it's one that's hard to understand - movement and spacing is critical to improving your play.
You see the terms "safe on shield" quite a bit when referring to individual moves, but that term by itself can be misleading. The statement "Cloud's b-air is safe on shield" is inaccurate. The more specific statement, that you don't often hear, is "Cloud's b-air is safe on shield at maximum range" (or something similar). Here, look at these two pictures (sorry about the quality, I'm taking them straight from streams - thanks to Coreo and Nika for unknowingly helping me with this article)


(Both images screenshotted from a stream presented by VGBC at Xanadu)
The picture on the left is a blatantly unsafe b-air. Cloud is so close to the opponent that if the attack is shielded (or, worse, powershielded), he's vulnerable to any number of counterattacks, depending on who the opponent is. The picture on the right is a maximum-range, and thus, relatively safe b-air. Most characters will have difficulty punishing this - and what's more, if they try and miss the punish, they are vulnerable to attack. You can see, between the two pictures, that the spacing difference between the two is pretty noticeable. Imagine a green "zone", if you will, the length of Cloud's b-air. One side of the zone is at the opponent, just about at their shield range. The other side of the zone is where you want to b-air them, to be as safe as possible. Now envision staying at the edge of that zone, perfectly, while your opponent is moving around the stage and trying to hit you. That's the difference between lower-level spacing and higher-level spacing.
Don't sweat it too much, at first, though - even fantastically good players aren't perfect, and mis-space moves. Chances are high that you will do this, and you will get punished (and maybe die) for it. That's okay. Use it as a learning process to figure out what you did wrong, and work to improve it.


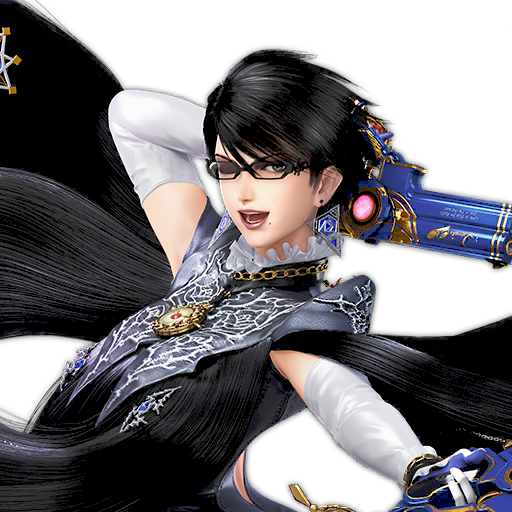
(All three images screenshotted from a stream presented by The Forge)
Wave | Black Yoshi is one of the best Bayonettas, not just in MD/VA, but period, and if you're not following him you should be. He's an amazing player with ridiculous combos and amazing talent. But Black Yoshi, just like anyone else, occasionally makes mistakes. In the pictures above, you can see that he used Bayo's Afterburner Kick to land, but ended up just in front of a grounded Cloud. It happens. (Sorry, BYoshi)
So, after you have a general idea of where you want to be when you're hitting your opponent, the next step is the question of "How do I get there?". Movement, or, more specifically, lack thereof, is one of the things that can make a player vulnerable. Many times, when players are in a neutral state, they're trying to think about what to do next. Generally, the most common action taken while this is going on is for them to hold shield. Hey, you think, I'm holding shield, so I'm safe while I think about what to do next. But here's the thing - you're not safe. There are some characters with severely non-threatening grabs - Little Mac, Cloud, etc. Getting grabbed typically isn't the end of the world. But if can avoid unnecessary damage, you want to.
An old martial arts concept exists, and still persists to this day: "If you can block, great. If you can avoid the attack entirely, even better." This concept holds true in Smash, as well. Unless you are extremely confident with your powershielding, it's typically better to avoid attacks than to shield them. Note the word "typically" there. There will be some situations where shielding an attack is your best option, so don't take this section to mean that you should never block an attack - you should just always be cognizant of several different factors, including your position, the opponent's position, and what they might want you to do. Some characters, like Ryu and Robin especially, would absolutely love for you to shield things so they can punish you for it. When a Robin throws out an Arcthunder, don't shield it. They're just going to run up and go for a grab and/or a Nosferatu. It's much better, in that case, to either spot-dodge it (risky) or jump over it (can be risky, depending on Robin's position). It's all about evaluating your options as quickly as possible and choosing the best one.
Another notable aspect of movement comes when you have the advantage - especially when your opponent is off-stage. So often, I see people knock their opponent off and then stand there and wait for them to come back. One of the most common things I see, as well, is the player returning to center stage to wait. Why? This isn't tennis. Why let them recover for free? I tell people, constantly, put some kind of pressure on the opponent. It can be something as simple as jumping out toward them and then returning immediately to the stage. Even if you don't actively try to kill them, they have to be aware of what you're doing, and that can lead to a mistake or a poor decision on your part that is punishable. Most especially, if a Cloud has Limit Break, do everything you can do force him to recover with it.
Finally, think of movement as something that you can use, not just to get yourself into a favorable position, but to create a favorable position. If you can use your character's movement to your advantage, you can bait out something unsafe that gives you a punish opportunity. In some cases, this can be accomplished as easily as running back and forth, or moving around your opponent and threatening an attack from different angles. At times, good movement can be a wonderful complement to doing damage - other times, good movement can be the catalyst for huge combos or even taking entire stocks. If you can, put yourself into your opponent's shoes in the middle of a match. Quickly ask yourself, "If I were them, what's the worst situation I can think of? What would I be most afraid of them doing?"... and then do it, if you can. Strive to constantly keep your opponent on the back foot, and even if you're at a disadvantage, you'll have a fighting chance.
(I couldn't get this gif to embed, so if you want to see an example of movement to create an opening, click this link: http://imgur.com/eY6cdxu. Clipped from VGBC's Xanadu stream, thanks to them and Seagull Joe)
That's about enough for this post, I think. Feedback and comments are always welcome! You can find me on Twitter at @zephyrssb. Thanks for reading!
This blog post was written by a SSB World community member. Share your Smash 4 knowledge by creating your own blog post now.
You must log in to comment.


Comments