Using the Sm4sh Calculator and applying results in-game
 Ruben - May 15, 2017
Link to the calculator: http://rubendal.github.io/Sm4sh-Calculator/
Sometimes math and terms of the game can intimidate players on trying to use the calculator, this post is for you the reader try to understand how to use the calculator, learn the terms used and know how to apply the calculations in-game.
The calculator inputs and results viewers are splitted into sections as seen below

Characters

This section is probably the easiest one, just select the characters you want to check and put their percentages.
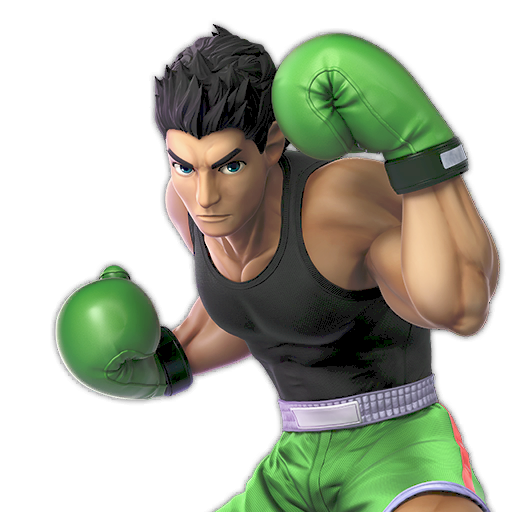
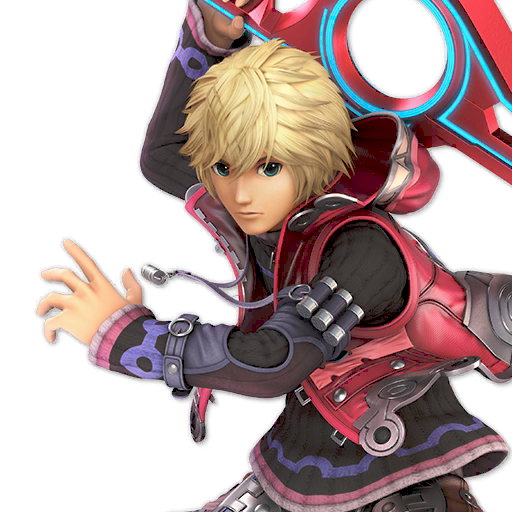
Some characters have attribute modifiers like Shulk Monado Arts, Cloud’s Limit Break, Wii Fit Trainer’s Deep Breathing and Bowser Jr. Clown Kart/Body damage multipliers, Lucario will have stock difference selection and Rosalina will have percentage input for Luma. Select them as well in case you will test these.
Attributes
In this section you will find attacker’s damage/KB dealt multipliers (in case they have them) and opponent’s damage/kb received multipliers as well, also it includes opponent’s weight, gravity, fall speed and traction which are some attributes used for some calculations.
- Weight: Opponent’s character KB resistance.
- Gravity: Downwards speed increase when the character’s falling.
- Fall speed: Maximum downwards speed the character can fall.
- Traction: Reduction of horizontal speed when sliding on the ground.
Attack

The calculator uses KuroganeHammer's API to get attacker’s move data, so you just need to select the hitbox you are using to hit the opponent and it will fill base damage, angle, BKB, WBKB, KBG and extra shield damage of the move.
The calculator can detect some additional data, like if the hitbox is a smash attack, a chargeable special or a windbox, which will select automatically the options found on the right.
- Smash attack or Chargeable checkbox will make an additional input called Charging frames (or Arm swings in case of DK’s Giant Punch), in this you can select the amount of frames the move was charged and it will automatically calculate the base damage.
- Projectile option is used when a hitbox is a projectile lol this is used for hitlag and shield advantage calculations.
- Target in air can be used when calculating a launch when the opponent is in the air, it’s only used when using a move with a Sakurai angle (361°) or 0° for tumble calculation.
- Windbox/Flinchless is for moves that don’t cause hitstun.
- Ignores staleness is used for moves that can’t be staled, usually used with items that are thrown immediately.
- Set weight option is used for hitboxes that ignore the opponent’s weight, these always consider weight as 100, some examples are Bayonetta’s Witch Twist and ABK, and Cloud’s Finishing Touch, you can find all hitboxes that have this property here https://docs.google.com/spreadsheets/d/1SiE-4IF53YF2hd-4IgNy9iUJ5R5KrRztipxzvZvAdP0/edit#gid=0
- Paralyzer is for moves that have the “Paralyze” effect, these will have Paralysis time calculation and will set weight automatically.
- The queue is used for stale-move negation calculation, a check means the move being calculated right now is found it that position of the queue, for more info on how this works check out BSD’s video.
Modifiers

Here you can set stuff that can change hitlag, KB, launch angle and distance launched depending on the situation you want to check.
- DI/LSI angle is the angle the opponent is holding the control stick considering they are facing to the left when hit, check the No DI box if the stick is in neutral position.
- Grounded meteor/Bounce off is when the opponent is grounded and you land a meteor or they are next to a wall when hit.
- Launch rate is for the setting that shouldn’t be changed in tournaments to 0.9, but it can be used if you want to test stuff with this setting.
- Crouch cancel is selected if the opponent is crouching when hit (dtilting/crawling don’t apply as crouch cancelling)
- Interrupted charged smash attack is selected if you are hitting the opponent while they are charging a smash attack.
- For the hitlag modifiers just select the electric attack option if the attack you are using has an electric effect.
Shield/Hit frame/FAF

Just put the frame you hit the opponent, the FAF of the move you used and for shield advantage calculations if the opponent used a normal shield or powershield.
However, if you are using an aerial there will be more options for testing hit/shield advantage.

- Use move FAF is when you are still in the air, your FAF isn’t affected.
- Use move landing lag will change the input to the frame you land and use the amount of landing lag the aerial has and calculate the FAF to use for hit/shield advantage.
- Use move autocancel will put the earliest frame you can autocancel the move and add hard landing lag to calculate the FAF.
Visualizer settings/Game mode

The calculator can visualize with a plot the launch of the attack you make and it includes collision detection with stage layouts, in this section you can change some settings of the visualizer.
- On the stage input you can select one of the legal stages + Duck Hunt and Miiverse stages to load their data into the visualizer, it includes stage layout, platforms (without moving animations), camera bounds and blast zones. This will also enable collision detection, sliding distance calculation and KO detection. You can also select no stage for just calculating distance.
- When a stage is selected you can quickly set the position of the opponent when hit by selecting the center of the stage or one of the spawns of the stage, use X and Y inputs to move it horizontally and vertically respectively in case the opponent is located somewhere else, also remember that throws move your opponents position (for example Mewtwo's Uthrow moves you upwards and the throws you) try using platforms to approximate vertical position on these.
- Invert move angle horizontally will change the launch angle to the other side, as if you are hitting the opponent and he is facing right when hit, this doesn’t affect move angle and DI/LSI inputs though, always consider the opponent facing left when hit on your calculations.
- X-axis is surface option is when no stage is selected, it will make the visualizer think that there is an infinite floor surface on Y=0 so you can test grounded meteors with no stage.
- Display X additional actionable frames will make the visualizer add X orange dots that represent position the opponent can do something but not moving.
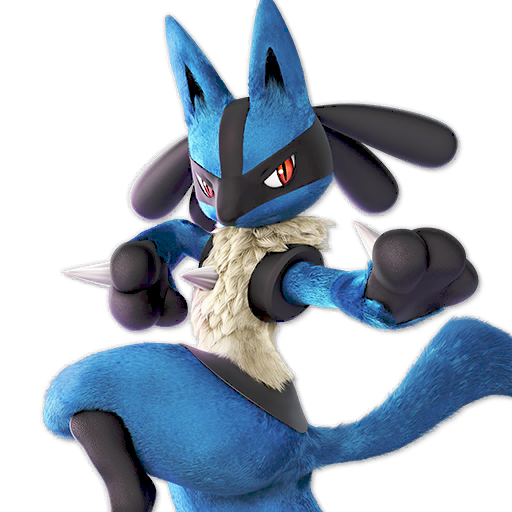
- Visualizer is limited due to processing each frame distance calculation, so you need to select if you are visualizing training mode or VS mode calculations, when using Lucario as the attacker Singles/Doubles mode input can be used for Aura calculations.
- You can also store the current visualizer distance calculation and make it visible with some transparency on the visualizer while making other calculations.
Share

This section only gives a link that you can put somewhere to show the calculation you made to someone else or saving it for future reference and not having to input all data.
Parameters

This section is special, as if you just need to use it if you are modding the game and changing these parameters, so just ignore it if you aren’t doing it.
Results

In here you can see the results of everything the calculator has obtained, as you can see on results have 4 columns:
X | Training mode result | Result is displayed here if it’s equal on both training and VS modes | VS mode
Now I will put some explanations for some terms that might confuse most people when seeing this table.
- Angle with DI: It’s the angle calculated with the move angle + DI angle change.
- Launch angle: It’s angle with DI + the increase of launch speed gravity causes which has an effect on angle you are launched.
- X/Y: Horizontal/Vertical component of KB.
- Tumble: This will tell if the attack causes tumble or not on the opponent.
- Can jab lock: This will tell if the attack can cause a jab lock when the opponent is bouncing on the floor after a footstool, falling of a platform or after a move with tumble that they didn’t tech.
- Gravity boost: Vertical launch speed increase caused by opponent’s character gravity.
- Max Horizontal/Vertical Distance: Maximum distance travelled by the opponent before they start falling in case for vertical and before hitstun ends.
- Hit Advantage: Frames you can do something while the opponent is still in hitstun, in case it’s negative the opponent has those frames to do something.
- Shield Advantage: Frames you can do something while the opponent is in shield hitstun, this is for Out of Shield options so add +7 for other options, in case it’s negative the opponent has those frames to do something.
More results will appear depending on the characters used, for example Aura damage multiplier will appear when using Lucario as the attacker while Luma KB calculation and if it will be launched indicator will appear when using Rosalina as the target.

The favorite part of the calculator for many, since you can move percentages or DI angles and check if you can KO your opponent lol
This is the list of what the dots and lines represent
Small dots
Blue = Opponent going up frame
Red = Opponent going down frame
Yellow = Airdodge hitstun cancellable frame
Green = Aerial hitstun cancellable frame
Big dots
Blue = Position of the opponent on your FAF
Red = KO frame (reminder that it’s not 100% accurate since character models are taken into account by the calculator, it may have slightly % difference compared to in-game)
Brown = Hitstun end frame
Lines
Purple = Stage surface
Green = Stage ledges
Boxes
Blue = Camera bounds
Purple = Blast zones
Applying results in-game
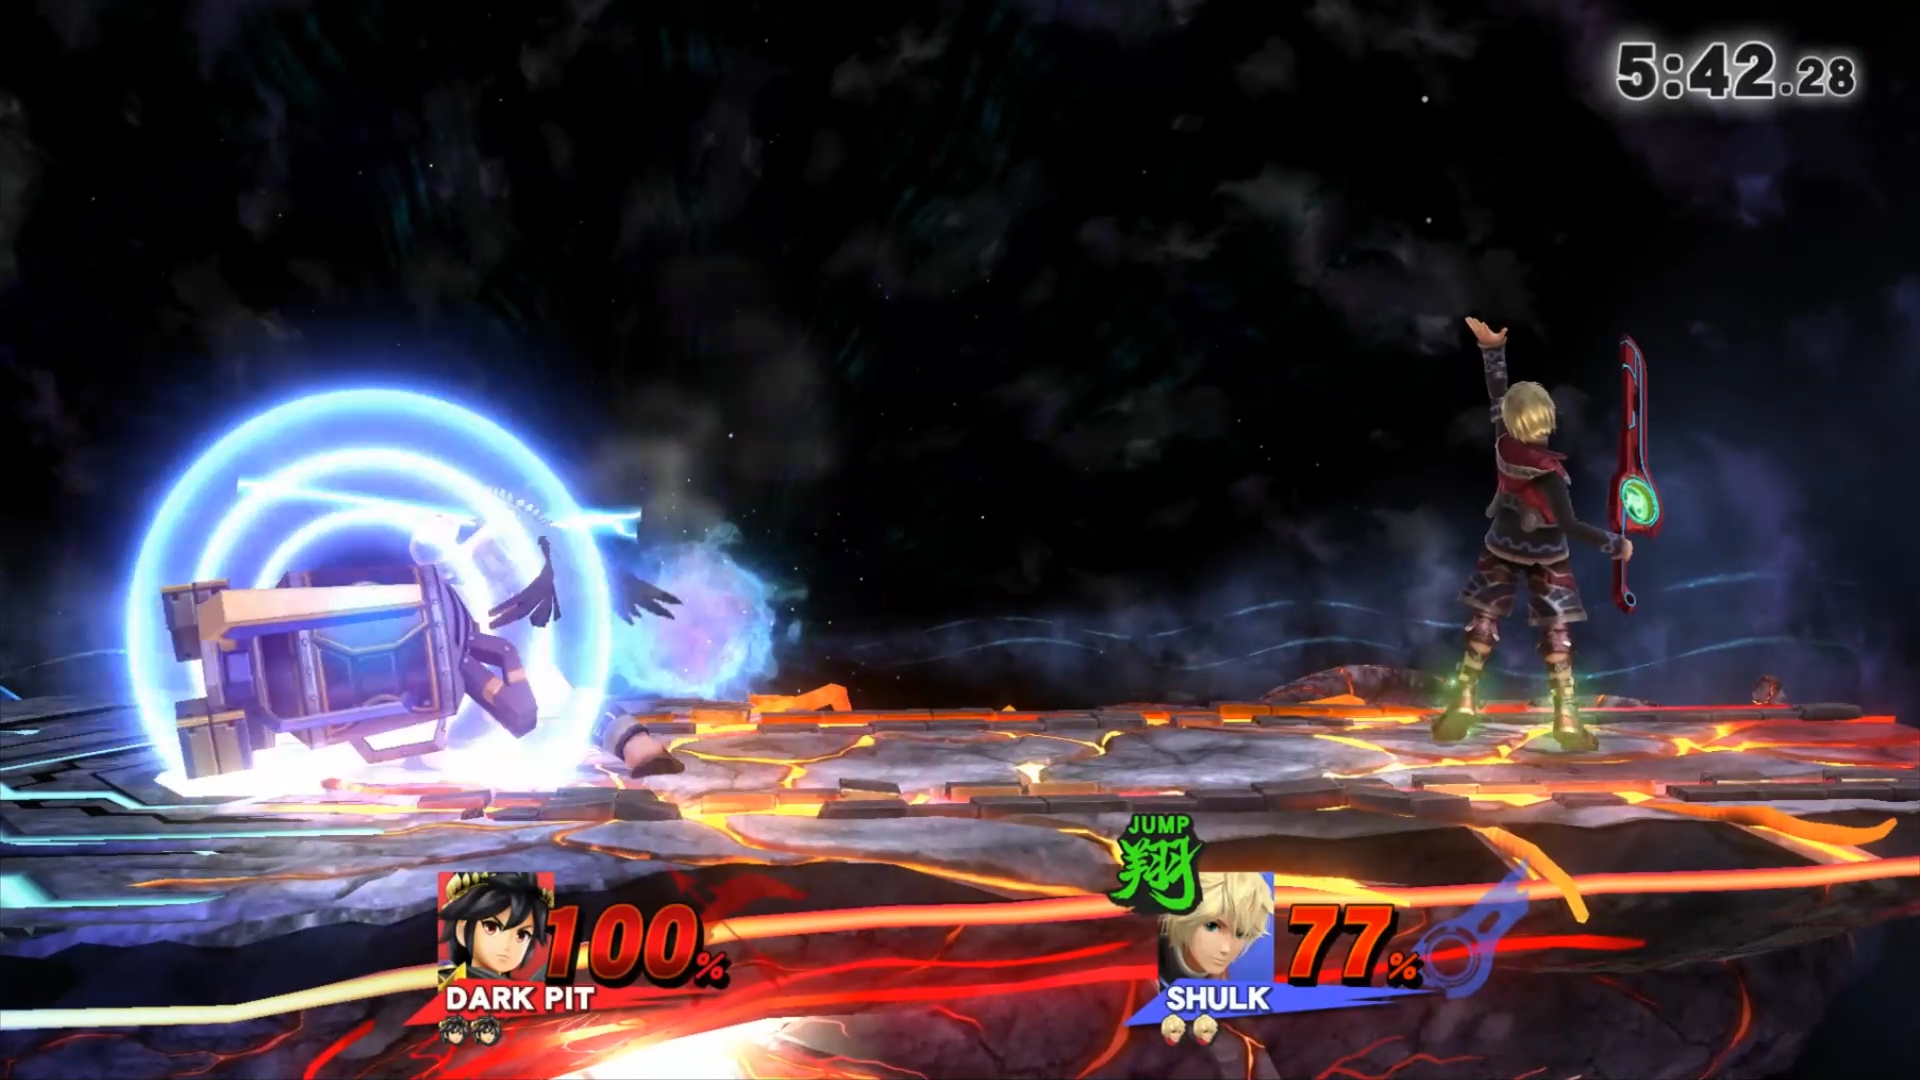
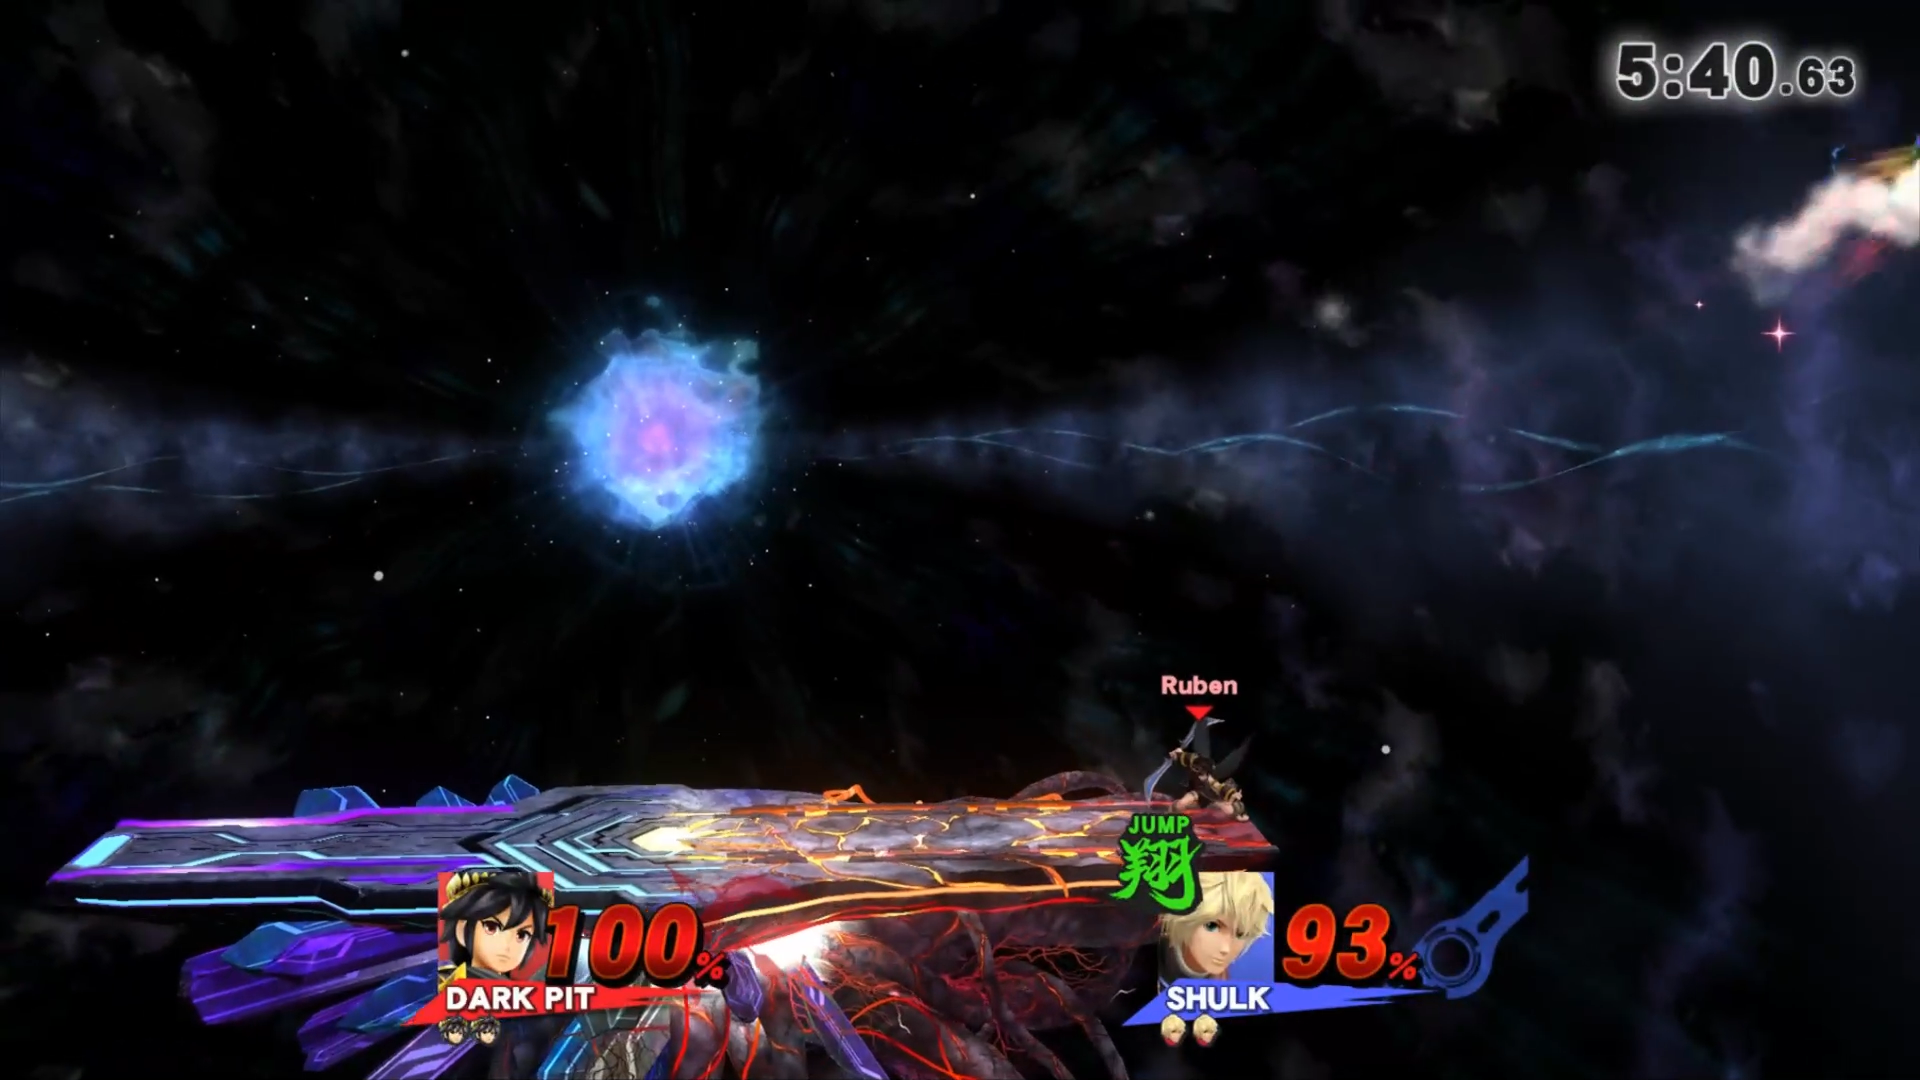
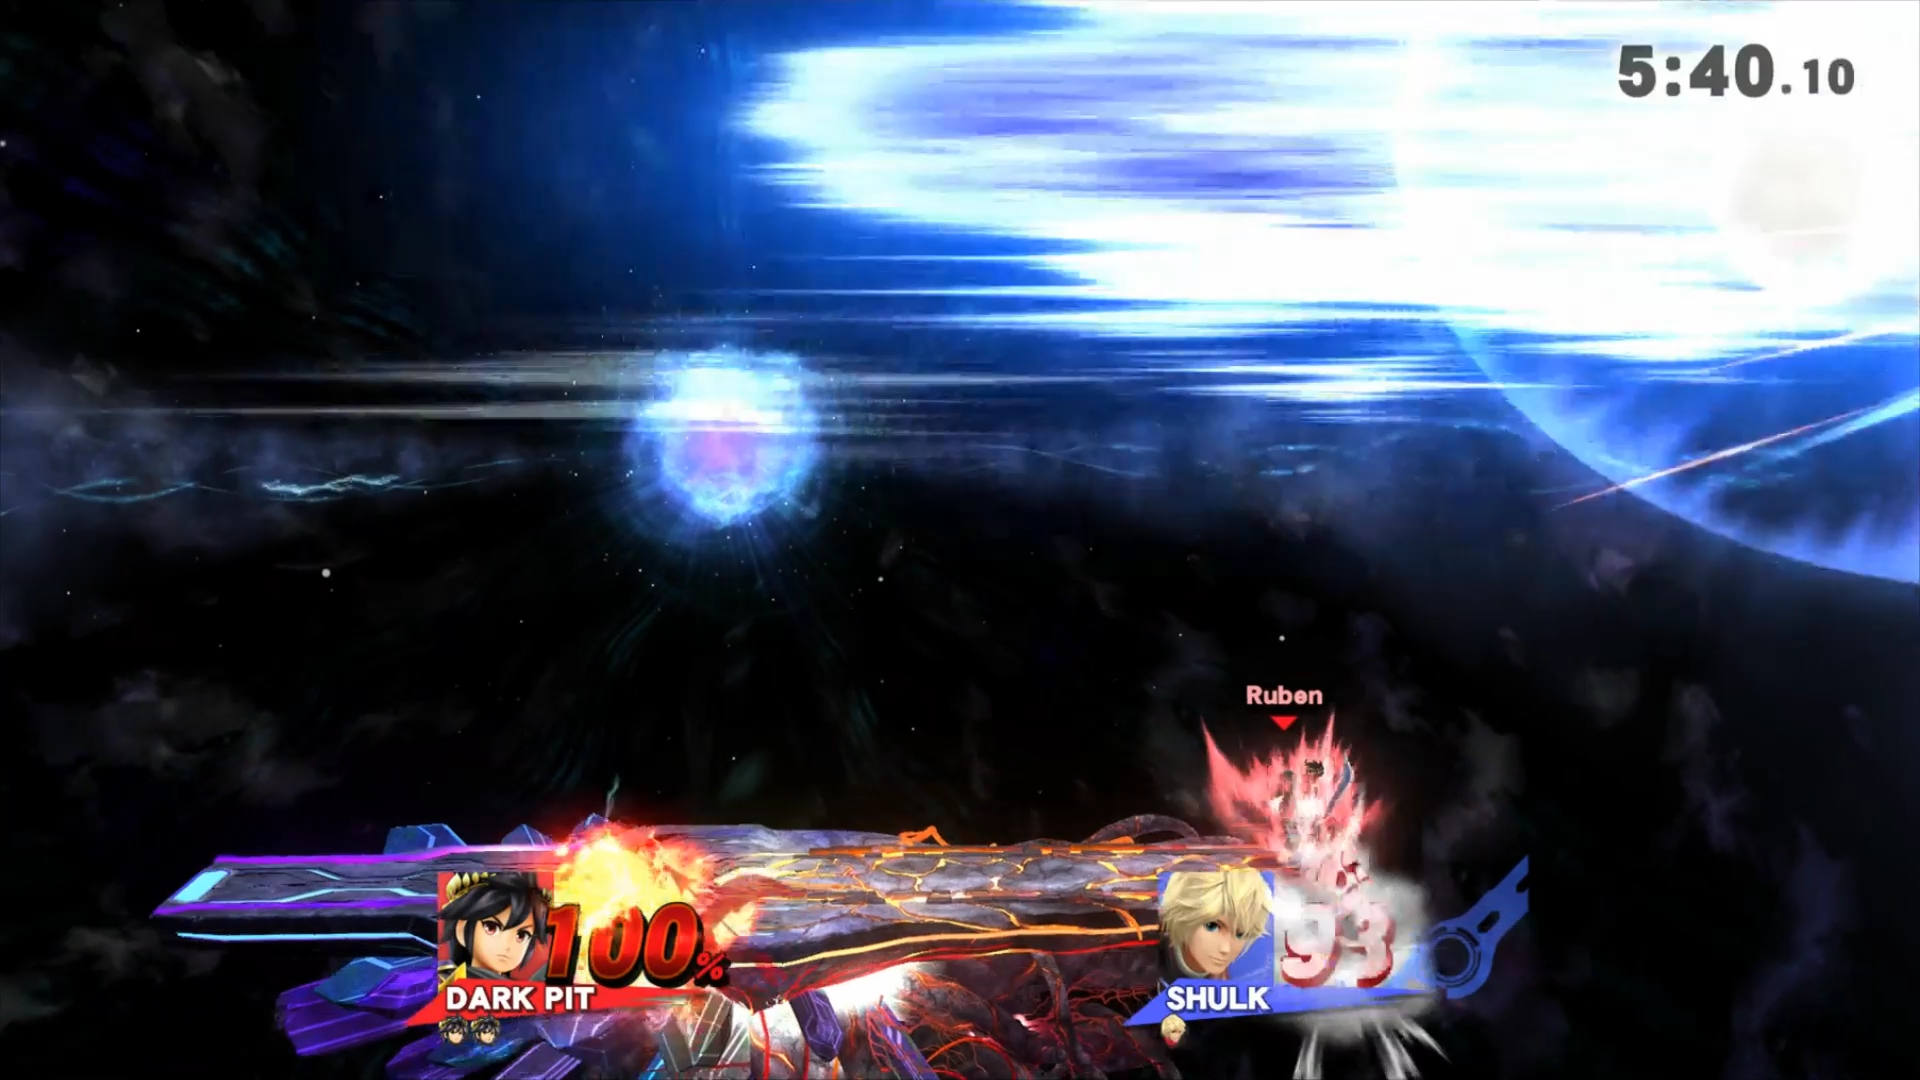
Now that we have inputted the data you just need to test this in-game, if you have read all the guide you should know that I’m testing 100% rage Dark Pit’s fresh grounded Electroshock Arm on 77% Jump art Shulk on FD that is DI’ing in from spawn position (link to the calculation)
Before hitting Shulk, he is on the spawn position at 76% and activating Jump art, Dark Pit is at 100% using Electroshock Arm, on hit Shulk DI's in
FAF frame for Dark Pit
Shulk is KO'd
This example was a related to KO percentage testing, however it has other applications like determining best DI angle of a move, checking jab lock percentages with rage and staleness or checking if the opponent is in hitstun while you can act for setups and more, for example this video made by @Skarfelt explains footstool combos with Fox while using the calculator for falling up air to footstool combos
This blog post was written by a SSB World community member. Share your Smash 4 knowledge by creating your own blog post now.
You must log in to comment.


Comments
I wanted to find some kill throw percents against each character.
Example: Bowser Jr. U-throwing Robin kills robin at 200% with DI 0º
Calculator says it shouldn't kill:
http://rubendal.github.io/Sm4sh-Calculator/?attacker=Bowser%20Jr.&target=Robin&targetPercent=200&baseDamage=7&angle=80&bkb=55&kbg=85&DI=0&noDI=0&hitFrame=0&faf=NaN&unblockable=1&weight=95&gravity=0.089&fallSpeed=1.5&stage=Final%20Destination
Is it because of the Calculator is not accounting for robin's whole model? Calc says robin won't die until 218%.